
This feature allows you to manage anyone wishing to join a session.
When the lobby feature is enabled, participants will show up in the lobby list and be held in the lobby room. In the participant’s panel, you will have the option to allow certain participants to enter your meeting or remove a participant from the list.
Enabling the Lobby
There are two ways to Enable the Lobby:
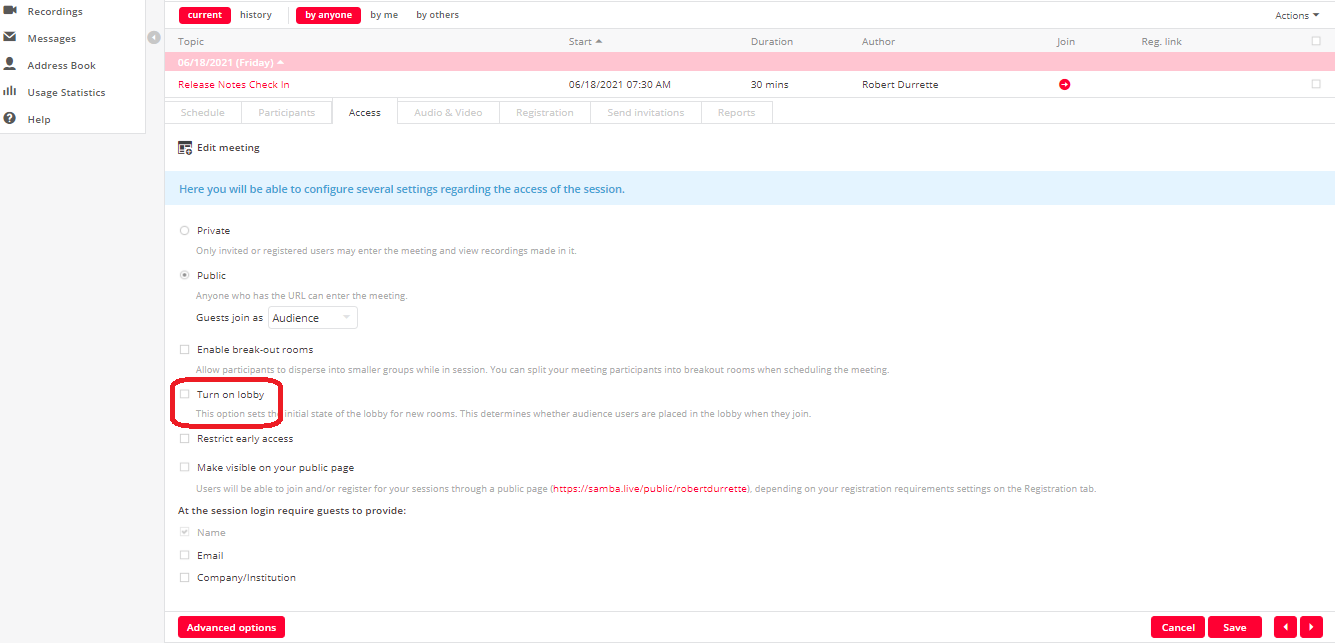
- Upon scheduling a meeting or editing a scheduled meeting: once you have created your meeting, click on Advanced Options and choose the tab Access, then check the "Turn on Lobby" button. Don’t forget to hit save or schedule! The lobby will be automatically turned on at the start of the meeting.
- During the Session – If the lobby was not enabled during scheduling, you can turn it on at any time during your session. To do this, click on the participants' icon, then click on the lock/unlock icon at the uppermost right side of the participant’s panel.

Accessing the Lobby
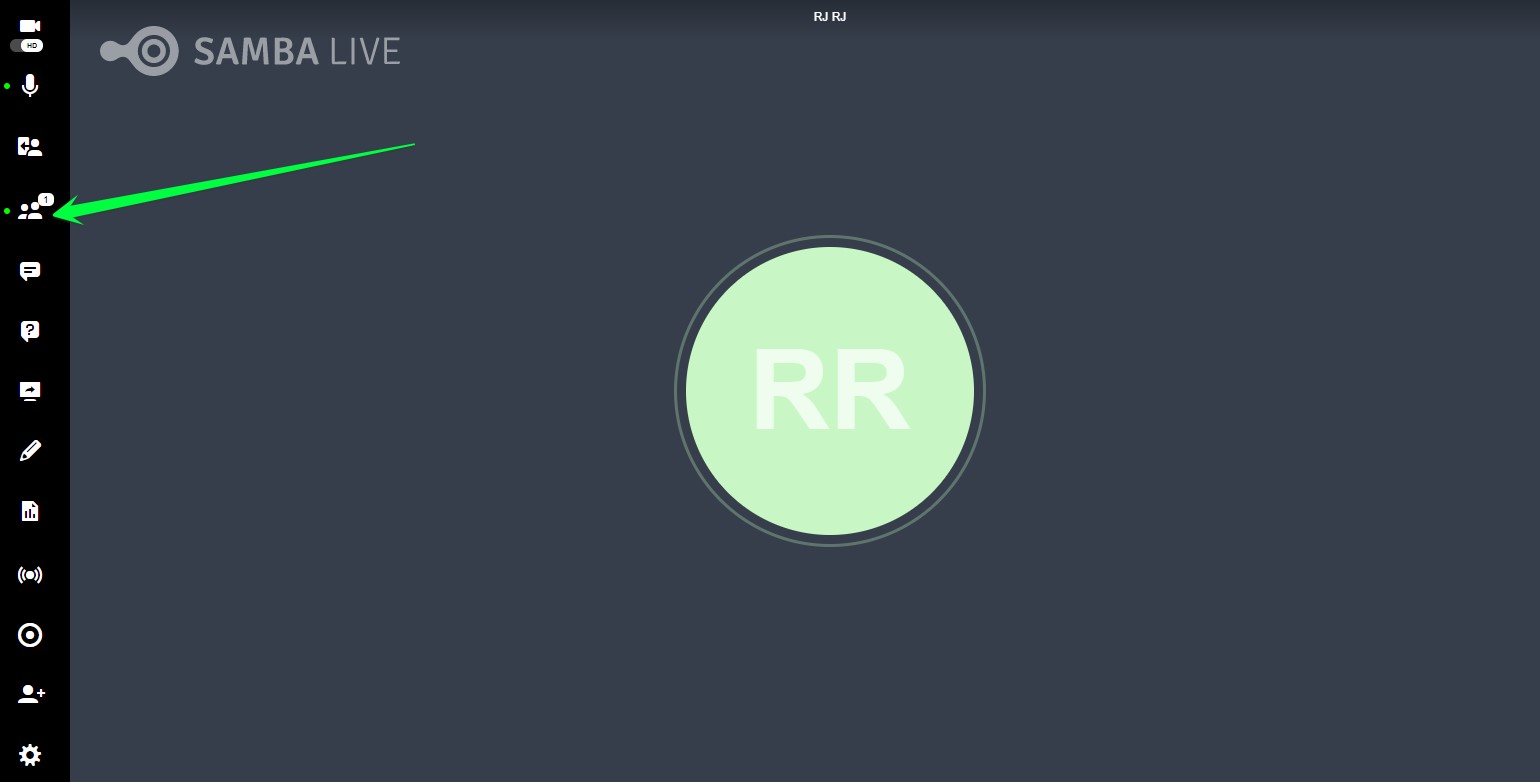
Upon entering the meeting room, click on the Participants icon. A green dot to the left of this icon indicates that the lobby is active.
The Participants panel will appear, showing the list of speakers and users waiting in the lobby.

Quick tip: your participants will receive a notification while waiting in the lobby.
Managing who enters the room
When the lobby is turned on, all the participants’ names will be listed under the Users Waiting in the Lobby section in the Participants panel. From there, you will have the option to Allow user to enter the room, Remove participant, or Allow all users to enter the room.
